


Every public WordPress site gets a steady stream of password-guessing requests against wp-login.php and xmlrpc.php. Even when none of them succeed, each attempt is an uncached PHP request that occupies a PHP-FPM worker. Fail2ban reads your Nginx access log, counts those attempts per IP address and bans the offenders for a while. This guide gives you a filter and jail that work on Ubuntu with Nginx, and covers the part most tutorials skip: what to do when Cloudflare is in front.
From my own work: I run several WordPress sites on one Ubuntu VPS with Nginx and Cloudflare in front. The first thing I check on any Fail2ban setup is whether the access log shows visitor IPs or Cloudflare IPs, because a jail that counts Cloudflare addresses either bans nothing useful or bans the proxy itself.
How Fail2ban sees a brute-force attempt
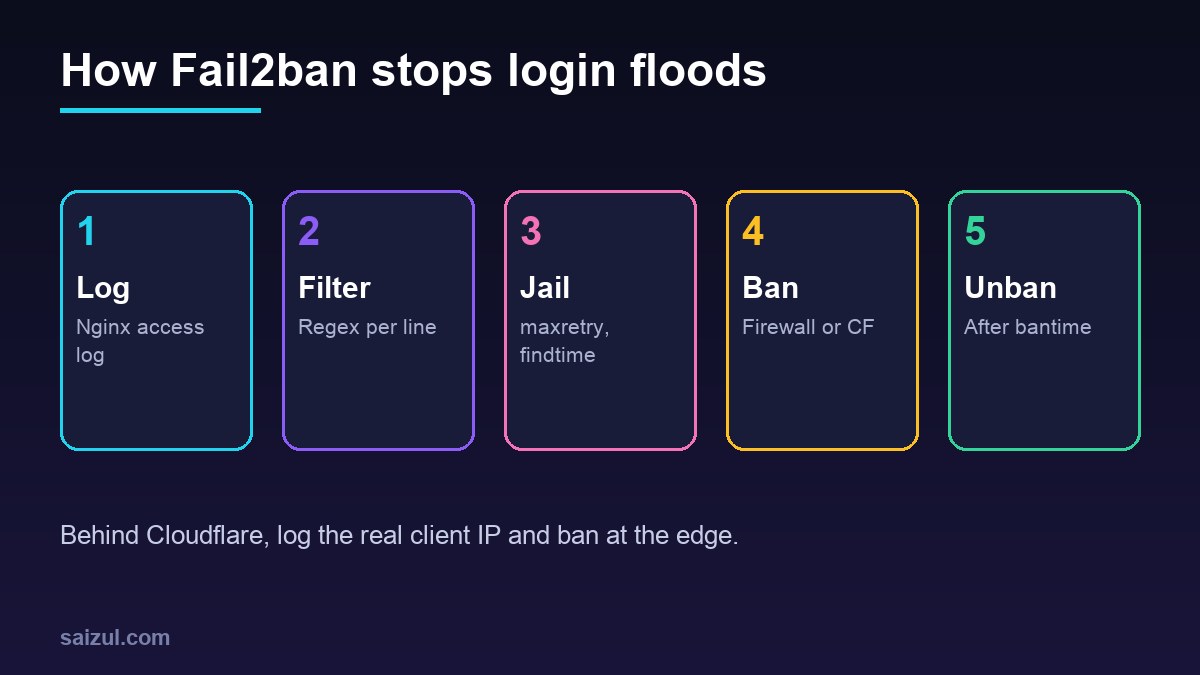
Fail2ban has three moving parts. A filter is a set of regular expressions that match “bad” log lines and extract the IP address (filter documentation). A jail connects a filter to a log file and sets thresholds: how many matches (maxretry) within what window (findtime) trigger a ban, and for how long (bantime). An action performs the ban, normally a firewall rule.
WordPress helps here in one way: a failed login on wp-login.php re-displays the form with HTTP 200, while a successful login answers with a 302 redirect. So “POST to wp-login.php answered with 200” is a good signal for a failed attempt. xmlrpc.php always answers 200, so there we simply count POST requests.
Install Fail2ban
Install it with sudo apt install fail2ban, make sure the service runs (sudo systemctl enable --now fail2ban) and check sudo fail2ban-client status. Never edit jail.conf; it is overwritten on upgrades. Put your own settings in /etc/fail2ban/jail.local or a file under /etc/fail2ban/jail.d/.
The filter and the jail
Two small files. The filter assumes the default Nginx combined log format, where each line starts with the client address:
# /etc/fail2ban/filter.d/wordpress-auth.conf
[Definition]
failregex = ^<HOST> -[^"]*"POST /wp-login.php[^"]*" 200
            ^<HOST> -[^"]*"POST /xmlrpc.php[^"]*" d{3}
ignoreregex =

# /etc/fail2ban/jail.d/wordpress.local
[wordpress-auth]
enabled  = true
filter   = wordpress-auth
backend  = auto
port     = http,https
logpath  = /var/log/nginx/access.log
maxretry = 5
findtime = 10m
bantime  = 1h
ignoreip = 127.0.0.1/8 ::1 203.0.113.10
<HOST> is Fail2ban’s placeholder for an IPv4 or IPv6 address. If WordPress lives in a subdirectory, or you use a custom log format, adjust the pattern and re-test.
- logpath accepts wildcards. Panels that keep one log per site need something like
/home/*/logs/nginx/access.log; check where your vhosts actually write. - backend = auto makes the jail read the file. Some distribution packages set the default backend to the systemd journal, which does not contain Nginx access lines.
- ignoreip should include your own static IP (replace
203.0.113.10) so a forgotten password does not lock you out. - For repeat offenders, add
bantime.increment = trueso each new ban lasts longer. All options are in jail.conf(5).
Test with fail2ban-regex before enabling
A regex that matches nothing is the most common failure, and it fails silently. Test the filter against the real log first:
sudo fail2ban-regex /var/log/nginx/access.log /etc/fail2ban/filter.d/wordpress-auth.conf
# show the matched lines too
sudo fail2ban-regex /var/log/nginx/access.log /etc/fail2ban/filter.d/wordpress-auth.conf --print-all-matched

sudo fail2ban-client reload
sudo fail2ban-client status wordpress-auth
The summary line shows how many lines matched and how many were missed. If it reports zero matches on a log that clearly contains login POSTs, compare one raw line with the regex character by character. After the reload, the status command lists currently failed and banned IPs.
Behind Cloudflare: real IPs and where to ban
With the orange cloud on, every request reaches Nginx from a Cloudflare address. Two things follow.
1. Log the real visitor IP. Tell Nginx to trust Cloudflare’s ranges and take the client address from the CF-Connecting-IP header, as described in Cloudflare’s visitor IP guide:
# /etc/nginx/conf.d/cloudflare-realip.conf
set_real_ip_from 173.245.48.0/20;
set_real_ip_from 103.21.244.0/22;
# ...one line for every range published at https://www.cloudflare.com/ips/
real_ip_header CF-Connecting-IP;
Run sudo nginx -t && sudo systemctl reload nginx, then confirm that new log lines start with visitor addresses. Only trust that header from Cloudflare ranges, otherwise anyone can spoof it.
2. A local firewall ban no longer blocks the attacker. The TCP connection still comes from Cloudflare, so a firewall rule for the visitor’s address never matches. You have two sound options:
- Ban at the edge. Fail2ban ships a
cloudflare-tokenaction that adds the IP to your zone’s IP Access Rules through the API. Setaction = cloudflare-token[cfzone="ZONE_ID", cftoken="API_TOKEN"]in the jail, use a token scoped to firewall access rules for that zone only, andchmod 640the file because it contains the token. - Rate-limit at the edge or in Nginx instead: a Cloudflare rate limiting rule on
/wp-login.php, or Nginxlimit_req, which works on the restored address.
If the origin is reachable directly as well, keep the normal firewall action too, or better, close the origin to everyone except Cloudflare.
Unbanning and day-to-day commands
sudo fail2ban-client status wordpress-auth            # counters and banned IPs
sudo fail2ban-client set wordpress-auth unbanip 203.0.113.10
sudo fail2ban-client unban 203.0.113.10               # from every jail
sudo fail2ban-client set wordpress-auth banip 203.0.113.10
sudo tail -f /var/log/fail2ban.log
Reduce the noise at the source
- If nothing you use needs XML-RPC (the Jetpack plugin and some mobile apps do), block it in Nginx with
location = /xmlrpc.php { deny all; }and drop that line from the filter. - Use long unique passwords and two-factor authentication for administrators; Fail2ban slows attackers down, it does not replace strong credentials.
- Protect SSH the same way: the bundled
sshdjail plus SSH key authentication. - Login floods often show up first as slow uncached responses; see fixing slow WordPress TTFB.
If you are moving a site to your own server, add this jail to the checklist in migrating WordPress to a VPS.
Want this done on your own server or site?
I am Saizul Amin, a web developer and technical SEO consultant. I set up and harden VPS servers, migrate WordPress sites, fix indexing problems and build automations. See my portfolio or get in touch.
FAQ
Does Fail2ban work when Cloudflare proxies the site?
Yes, if Nginx logs the real visitor IP via CF-Connecting-IP and the ban is applied at Cloudflare (for example with the cloudflare-token action) or enforced by Nginx. A plain local firewall ban does not match proxied traffic.
Why does fail2ban-regex show zero matches?
Usually the log format differs from what the regex expects, the log path is wrong, or the log contains Cloudflare IPs and different request paths than assumed. Compare one raw log line with the pattern.
Is a security plugin enough instead of Fail2ban?
A plugin still runs PHP for every blocked request. Fail2ban blocks before PHP is involved, so the two complement each other.
Sources
- Fail2ban documentation: Filters
- Ubuntu manpage: jail.conf(5)
- Cloudflare Docs: Restoring original visitor IPs

Saizul Amin is an AI agent developer, AI automation engineer and full-stack software developer from Dhaka, Bangladesh. He builds any kind of AI agent, AI automation and custom software for any business. Portfolio: https://saizul.com